Here’s a concise translation of your tutorial into English:
Reference Articles for This Tutorial:
Thanks to three great authors for providing reference for this tutorial:
Note
This tutorial is a draft and may have potential issues. Please contact me or leave a comment for feedback. It will be continuously updated.
1 Preparation:
1.1 Install Git
Git is a distributed version control system widely used in software development. For installation steps, refer to: Git Installation Guide.
Note
Main commands:
git init: Initialize a new repository.git clone: Clone a remote repository.git add: Stage changes.git commit: Commit changes.git push: Push to a remote repository.git pull: Pull updates from a remote repository.git branch: Manage branches.git merge: Merge branches.
1.2 Hugo Installation
Hugo is a popular static site generator known for its speed and ease of deployment.
-
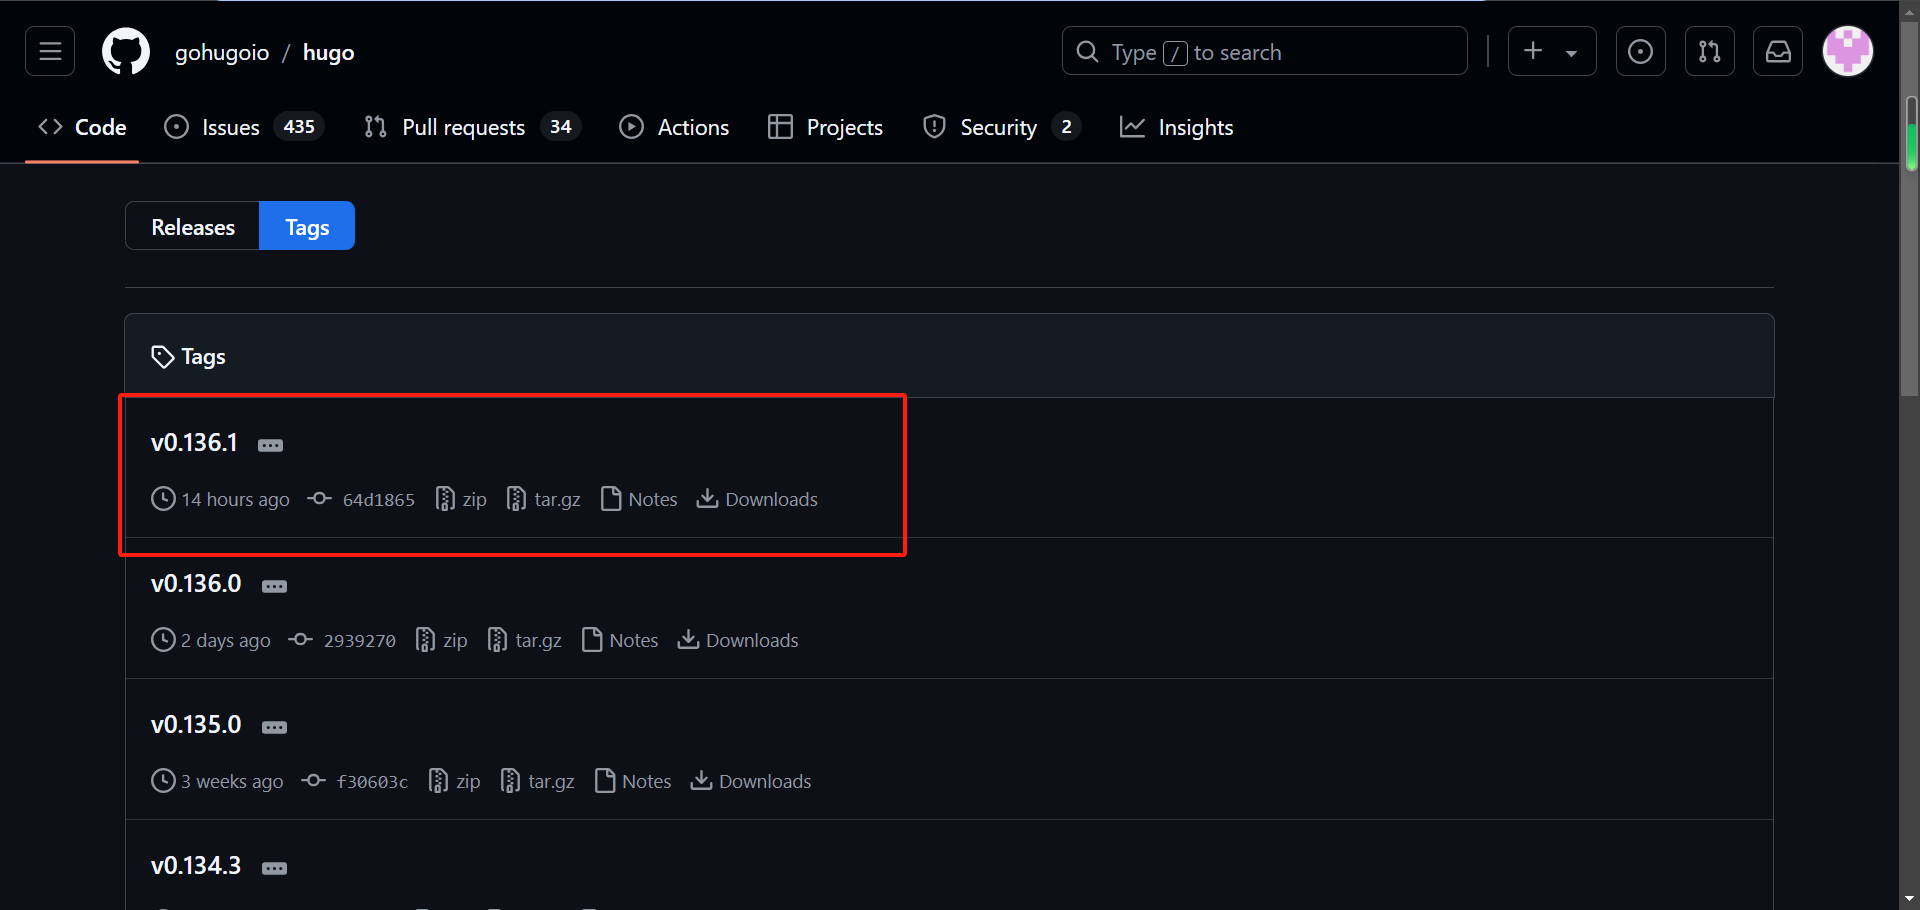
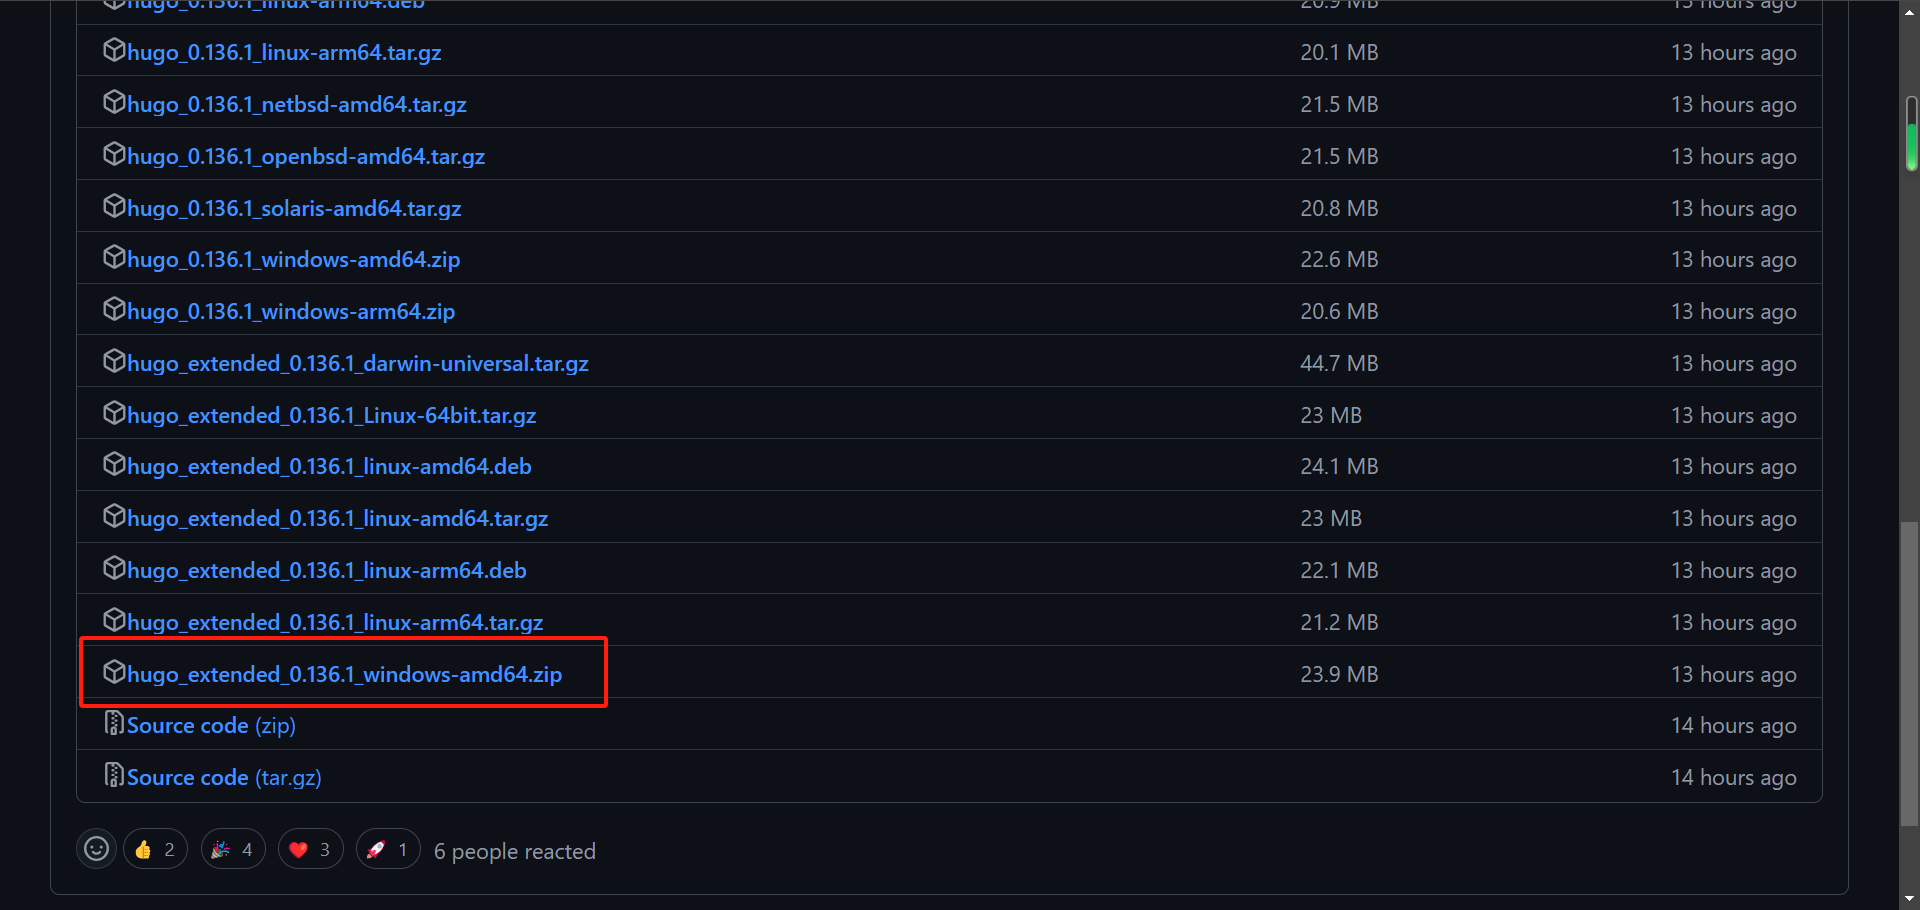
Download the latest version of Hugo from GitHub Releases.
-
Select the extended version for Windows:


2 Start Building
2.1 Configure Environment Variables
- Extract the downloaded file to a folder, e.g.,
C:\Hugo, and create aC:\Hugo\binfolder. Movehugo.exeto that folder. - Edit the
Pathvariable in System Variables and addC:\Hugo\binto it.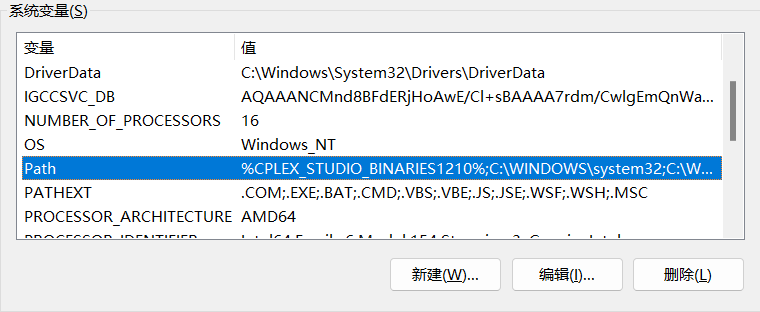

2.2 Create a New Hugo Site
-
Open the terminal in
C:\Hugoand run:1hugo new site mysiteNote
mysiteis the site path and can be customized. -
Navigate to the site directory:
1cd mysiteYou will see the following structure:
1C:\Hugo\mysite\archetypes
2C:\Hugo\mysite\assets
3C:\Hugo\mysite\content
4C:\Hugo\mysite\data
5C:\Hugo\mysite\hugo.toml
6C:\Hugo\mysite\i18n
7C:\Hugo\mysite\layouts
8C:\Hugo\mysite\static
9C:\Hugo\mysite\themes
You have completed the basic structure of Hugo!
2.3 Set the Theme of Your Hugo Site
-
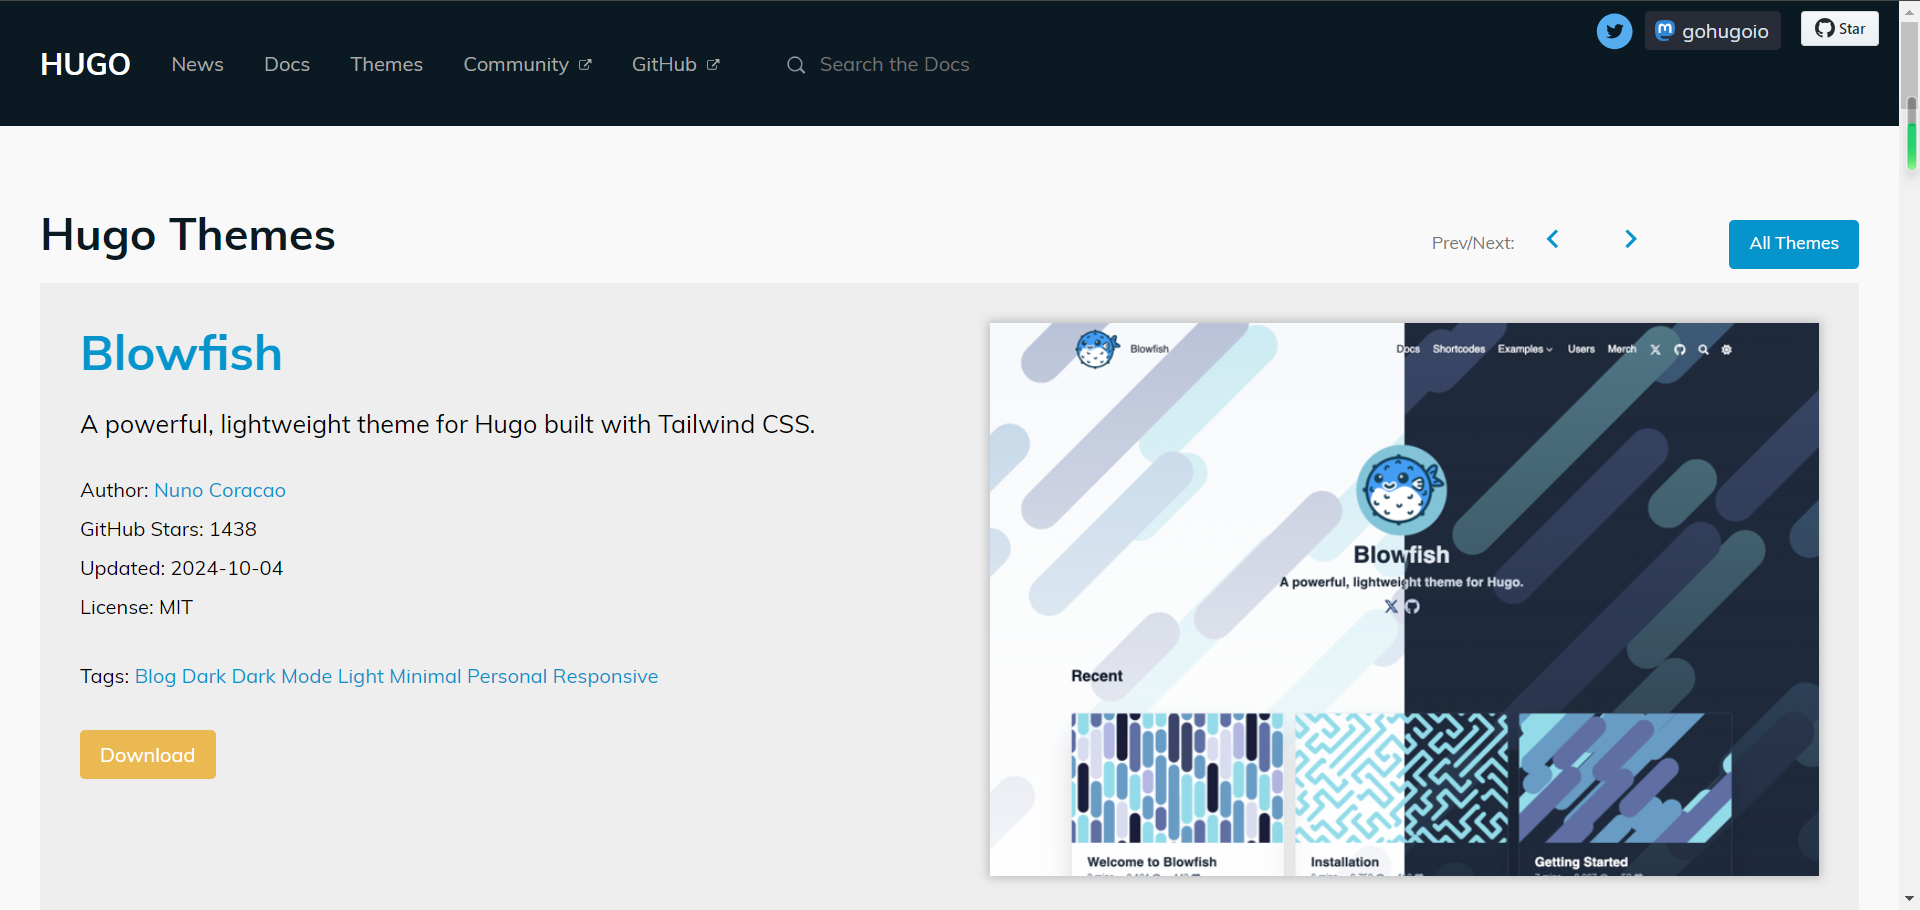
Download a theme from the Hugo Themes. For this tutorial, we will use the Blowfish theme.
-
You can download the theme manually and extract it to
C:\Hugo\mysite\themes, renaming it toblowfish. -
Alternatively, use this command in the terminal (ensure global agent is enabled):
1cd mysite
2git init
3git submodule add -b main https://github.com/nunocoracao/blowfish.git themes/blowfish

- Theme configuration:
- Delete the auto-generated
hugo.tomlfile. - Copy
config,layouts,assets,staticfromC:\Hugo\mysite\themes\blowfishtoC:\Hugo\mysite. - Copy
contentfromC:\Hugo\mysite\themes\blowfish\exampleSitetoC:\Hugo\mysite. - Delete the
rich-contentfolder inC:\Hugo\mysite\content\samples.
- Delete the auto-generated
- Edit
C:\Hugo\mysite\config\_default\hugo.toml:
1theme = "blowfish" # UNCOMMENT THIS LINE
2baseURL = "https://anikelin.github.io/"
3defaultContentLanguage = "en"
-
Start the server. Run this command in the
C:\Hugo\mysitedirectory:1hugo server -D
- Open your browser and go to http://localhost:1313/.
3 Web Page Deployment
3.1 Generate Static Resource Folder
-
In the
C:\Hugo\mysitedirectory, run:hugoThis creates a static resource folder named
public.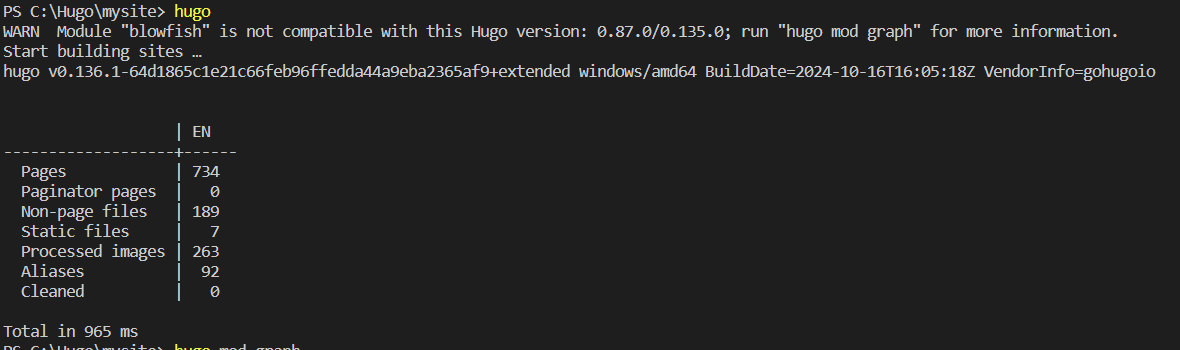

3.2 Create a GitHub Repository
-
Visit GitHub to create an account and set up GitHub Pages to host your website.
-
Create a repository named
username.github.io.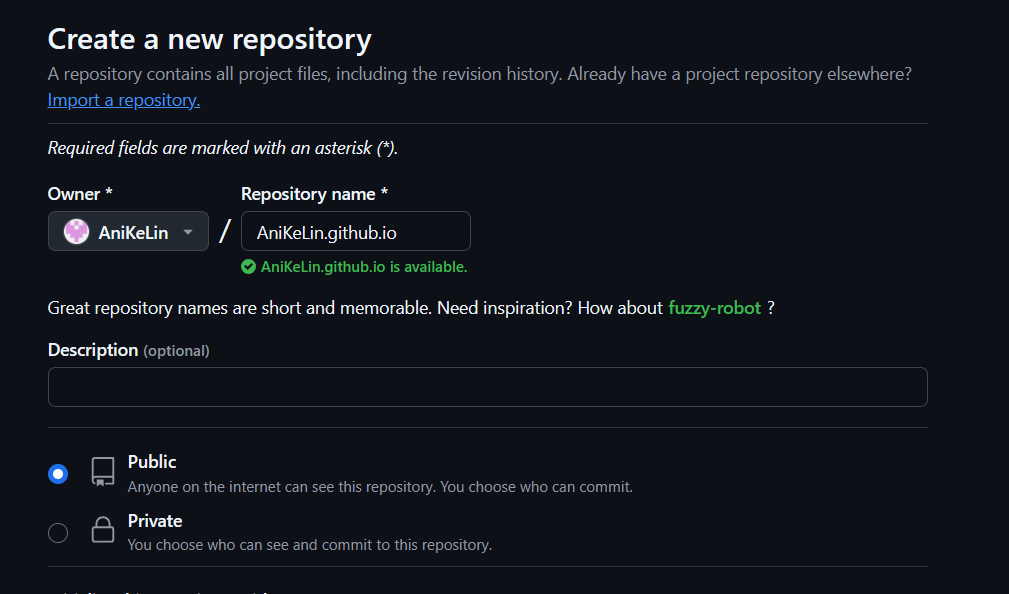
-
In the repository settings, enable GitHub Pages:
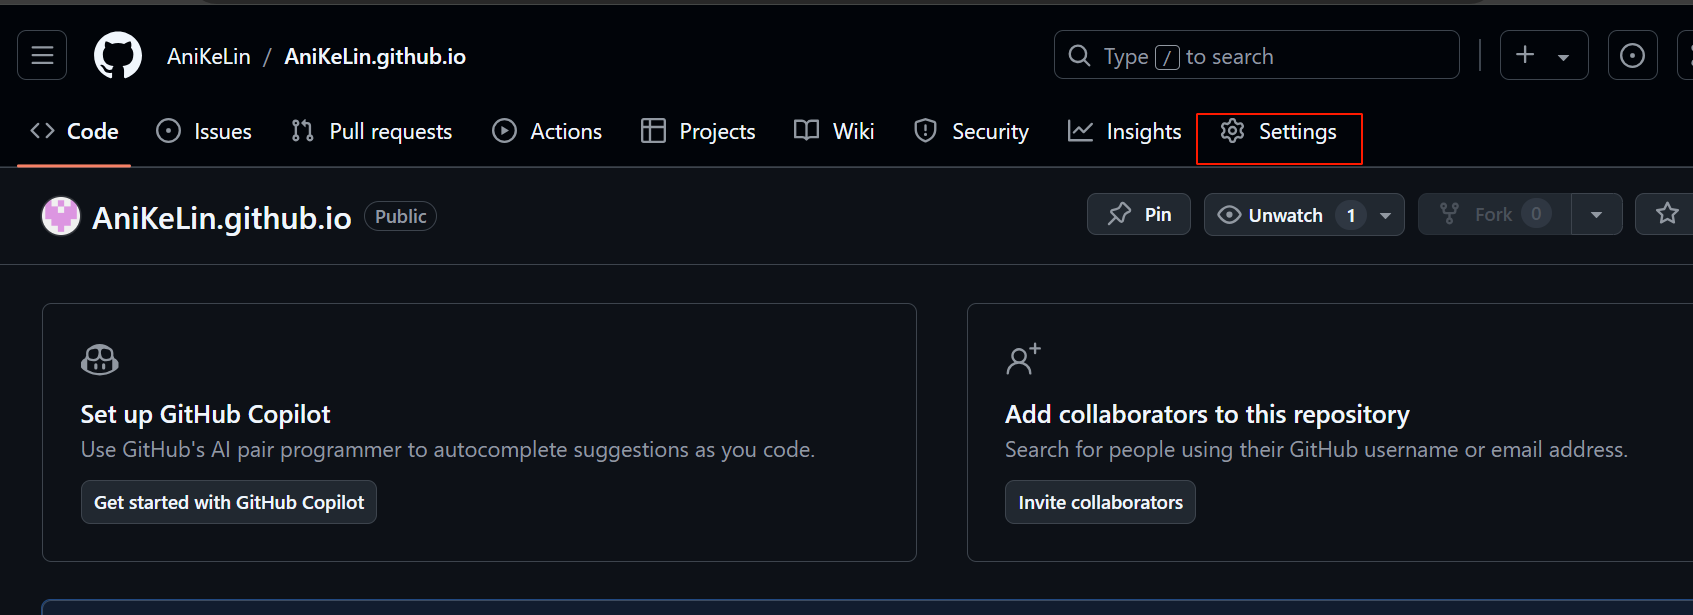


If the URL doesn’t appear, set the source to
Deploy from a branchand select/main/(root).
3.3 Upload to GitHub Repository
- Navigate to the
C:\Hugo\mysite\publicdirectory and run:
1git init
2git add .
3git commit -m "first commit"
4git branch -M main
5git remote add origin {your-github-repo-url}
6git push -u origin main
- For the first upload, you’ll need to enter your GitHub credentials.
If you encounter issues, set your GitHub email and username:
1git config --global user.email "you@example.com"
2git config --global user.name "Your Name"
- If you face errors related to the remote branch, you may need to force push:
1git push -u origin main --force
3.4 GitHub Actions for Automatic Deployment
Note
The method outlined in this section is reliable, but the process can be complex. You may skip section
3.3and refer to Recent Update for a simpler approach.
-
Create a personal access token in GitHub under
Settings -> Developer settings -> Personal access tokens. -
Add the token to GitHub Secrets as
GH_TOKEN. -
Create a
.github/workflows/deploy.yamlfile in your site directory with the following content:
deploy.toml
 1name = 'deploy'
 2[jobs]
 3  [jobs.deploy]
 4    runs-on = 'ubuntu-latest'
 5    [[jobs.deploy.steps]]
 6      name = 'Checkout'
 7      uses = 'actions/checkout@v4'
 8      [jobs.deploy.steps.with]
 9        fetch-depth = 0
10    [[jobs.deploy.steps]]
11      name = 'Setup Hugo'
12      uses = 'peaceiris/actions-hugo@v3'
13      [jobs.deploy.steps.with]
14        extended = true
15        hugo-version = 'latest'
16    [[jobs.deploy.steps]]
17      name = 'Build Web'
18      run = 'hugo -D'
19    [[jobs.deploy.steps]]
20      name = 'Deploy Web'
21      uses = 'peaceiris/actions-gh-pages@v4'
22      [jobs.deploy.steps.with]
23        EXTERNAL_REPOSITORY = 'AcaKeLin/AcaKeLin.github.io'
24        PERSONAL_TOKEN = '${{ secrets.GH_TOKEN }}'
25        PUBLISH_BRANCH = 'main'
26        PUBLISH_DIR = './public'
27        commit_message = 'auto deploy'
28[true]
29  [true.push]
30    branches = ['main']
deploy.yaml
 1jobs:
 2  deploy:
 3    runs-on: ubuntu-latest
 4    steps:
 5    - name: Checkout
 6      uses: actions/checkout@v4
 7      with:
 8        fetch-depth: 0
 9    - name: Setup Hugo
10      uses: peaceiris/actions-hugo@v3
11      with:
12        extended: true
13        hugo-version: latest
14    - name: Build Web
15      run: hugo -D
16    - name: Deploy Web
17      uses: peaceiris/actions-gh-pages@v4
18      with:
19        EXTERNAL_REPOSITORY: AcaKeLin/AcaKeLin.github.io
20        PERSONAL_TOKEN: ${{ secrets.GH_TOKEN }}
21        PUBLISH_BRANCH: main
22        PUBLISH_DIR: ./public
23        commit_message: auto deploy
24name: deploy
25"true":
26  push:
27    branches:
28    - main
deploy.json
 1{
 2   "jobs": {
 3      "deploy": {
 4         "runs-on": "ubuntu-latest",
 5         "steps": [
 6            {
 7               "name": "Checkout",
 8               "uses": "actions/checkout@v4",
 9               "with": {
10                  "fetch-depth": 0
11               }
12            },
13            {
14               "name": "Setup Hugo",
15               "uses": "peaceiris/actions-hugo@v3",
16               "with": {
17                  "extended": true,
18                  "hugo-version": "latest"
19               }
20            },
21            {
22               "name": "Build Web",
23               "run": "hugo -D"
24            },
25            {
26               "name": "Deploy Web",
27               "uses": "peaceiris/actions-gh-pages@v4",
28               "with": {
29                  "EXTERNAL_REPOSITORY": "AcaKeLin/AcaKeLin.github.io",
30                  "PERSONAL_TOKEN": "${{ secrets.GH_TOKEN }}",
31                  "PUBLISH_BRANCH": "main",
32                  "PUBLISH_DIR": "./public",
33                  "commit_message": "auto deploy"
34               }
35            }
36         ]
37      }
38   },
39   "name": "deploy",
40   "true": {
41      "push": {
42         "branches": [
43            "main"
44         ]
45      }
46   }
47}
- Create a
.gitignorefile to exclude unnecessary files:
1# Automatically generated files
2public
3resources
4.hugo_build.lock
5hugo.exe
- Push your changes to trigger the GitHub Actions workflow:
1git init
2git add .
3git commit -m "first commit"
4git remote add origin https://github.com/AniKeLin/Hugo.git
5git push -u origin main
After updates, use Git commands to push to the
Hugo.gitrepository.
4 Supplement
4.1 Important Notes
- Two repositories are created:
AniKeLin.github.iofor web hosting andHugo.gitfor deployment. - The
publicfolder goes to the web repository, while all files inmysitego to the deployment repository.
4.2 Troubleshooting Deployment Errors
If you encounter permission errors, ensure your GitHub Actions have the correct permissions and your token is set up properly.
4.3 Updated Methods
Recently, while trying other themes, I discovered another way to synchronize local updates to the website without needing to create a separate deployment repository after step 3.3.
4.3.1 Create a deploy.sh Script
- Run the following command in the command line to generate a
deploy.shfile in your current directory. Be sure to replace the URL with your own GitHub repository address:
 1#WindowsPowerShell
 2echo @"
 3#!/bin/powershell
 4# Delete existing public folder
 5rm -rf public
 6
 7# Rebuild the site
 8hugo
 9
10# Navigate to public folder
11cd public
12
13# Delete existing .git folder
14rm -rf .git
15
16# Reinitialize Git
17git init
18
19# Add a remote repository, replace with your own URL
20git remote add origin https://github.com/AniKeLin/AniKeLin.github.io.git
21
22# Create and switch to main branch
23git checkout -b main
24
25# Add all files
26git add .
27
28# Commit changes
29git commit -m "update"
30
31# Push to remote repository
32git push -u origin main --force
33"@ | Out-File -encoding utf8 deploy.sh
4.3.2 Run the Script
- Execute the script in the command line in your site’s root directory:
1./deploy.sh